Aerospace, Flight Testing, Oil & Gas, Pressure Measurement, University, Utility
Pressure Transducer Calibration Intervals
All Validyne pressure transducers are calibrated at the factory, just before shipment. But how often should a pressure transducer be calibrated after that? This will depend on the application and the importance of accuracy in the measurement. In some research applications the pressure transducer is calibrated just before an experiment begins, and then again when the experiment is finished. In this case the time frame could be less than one day or several weeks, depending on the length of the experiment. The purpose of checking the pressure transducer calibration afterwards is to verify that no significant drift has occurred.
For industrial applications, most transducers are typically put on a yearly calibration schedule. The calibration interval can be as short as three months for critical industries, such as medical manufacturing or pharmaceutical applications. When a pressure transducer is calibrated, a QA sticker with the date is affixed so that it can be verified as ‘in calibration’ while in service.
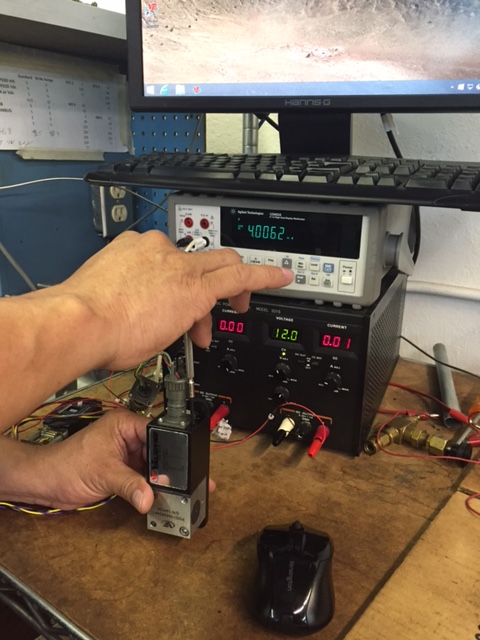
Calibration consists of recording the transducer output signal when five known pressures are applied: Zero, 50% of full scale, 100% of full scale, 50% again and zero. The zero and span controls on the transducer are then adjusted, if necessary, to bring the accuracy into the specified tolerance. This data is recorded and filed, and the transducer returned to service.
Validyne can provide calibration services and also make any needed repairs or temperature corrections. Included are incoming and final calibration data and a calibration date sticker – all provided on a fast turn-around basis.
Contact us at calibration@validyne.com for more information!
Comments are closed

